
<Back> 1 2 3 4 5 6 7 8 9 <Next>
In Part 5 of the tutorial, we are going to try out 3 more Orbit Trap Controllers.
Change the Based On property to Pattern Map - Texture.

This controller is used to map Textures onto the trap's surface. I do not include any textures with the product so you will need to find some on the Internet to try this controller out. There are many textures available on the Internet. Try searching for seamless textures as a starting point.
A good source for seamless textures is Genetica Viewer by Spiral Graphics. Genetica Viewer is a free application for rendering seamless textures that were created in Genetica. I highly recommend that you download Genetica Viewer. The download includes hundreds of seamless textures plus editing functionality to generate countless different variations of each texture.
There is also a nice set of public domain textures found at Public Domain Textures.
If you do not have access to any textures at this time, skip ahead to the Pattern Map - Geometric Design 1 example just below the next fractal image.
Add 2 textures to the controller's Texture List Control.
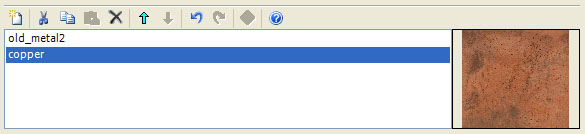
To do this, click the New toolbar button (the 1st button on the left above the list). This displays the Open Textures dialog used to add 1 or more new texture to the bottom of the list. Navigate to the texture files, select them, and click Open.
Next, scroll down to the 3D Mapping section, and check Apply Depth near the bottom of the section.
![]()
This adds a metallic quality to the traps. This step is optional and should be based on the textures you choose.
On the program's Properties page, I set Pattern Map to Curve Map, and in the Curve Map section, I set Angle Factor to 8 and Radial Factor to 0.25. These settings are highly dependent on the textures you have selected above so you may need to use different settings to make things look good. It may be easier to leave all the properties set to their default values (i.e., Pattern Map set to Planar Map) since this usually looks good with most textures.
![]()

These properties are highly dependent on the textures you select and you need to play with them to get the best result.
Execute the Display Fractal command on the Tools menu of the Fractal Window to generate the fractal image.
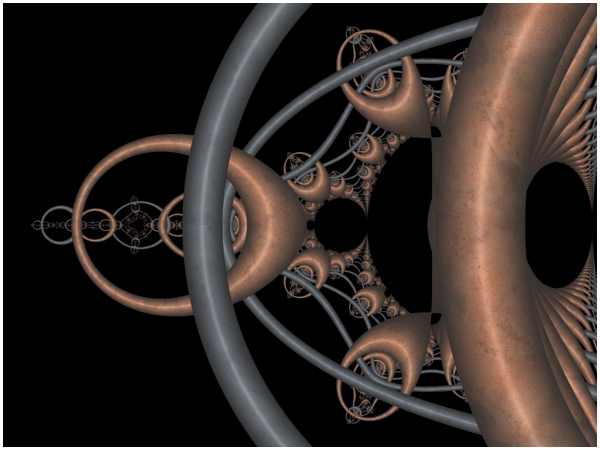
Note that the textures are indexed based on the Index Map property which is set to Trap Dwell so the traps alternate between the 2 textures as the dwell increases.
Change the Based On property to Pattern Map - Geometric Design 1.

Next, scroll down to the 3D Mapping section, and check Apply Depth near the bottom of the section.
![]()
This adds a metallic quality to the traps.
On the program's Properties page, set Pattern Map to Curve Map, and in the Pattern Options section, set Pattern to Nova 6A.
![]()

Execute the Display Fractal command on the Tools menu of the Fractal Window to generate the fractal image.
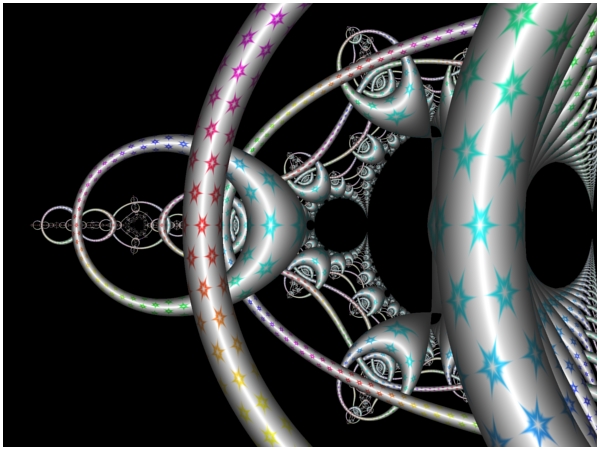
This controller maps the given pattern onto the surface of the trap.
Change the Based On property to Pattern Map - Perlin Noise.

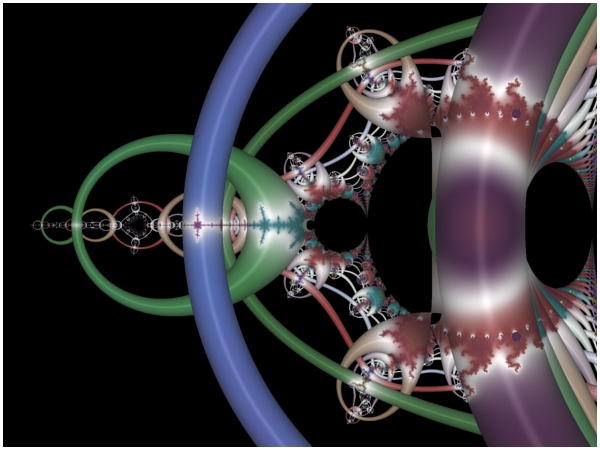
This controller colors the orbit trap by mapping a pattern based on Perlin Noise onto the trap. This will give our trap a stone-like appearance.
On the program's Properties page, in the Noise Options section, check the Abs checkbox.
![]()
Execute the Display Fractal command on the Tools menu of the Fractal Window to generate the fractal image.

This controller maps a noise pattern onto the surface of the trap. This gives the trap a stone-like quality.
This controller can also be used in conjunction with another controller to add texture to the orbit trap. For example, let's add a noise-based texture to one of the images we generated in Part 4.
Change the Based On property to Gradient Map - Dwell/Index.

Select the program's Properties page and set Value to Magnitude in the Value Map section.

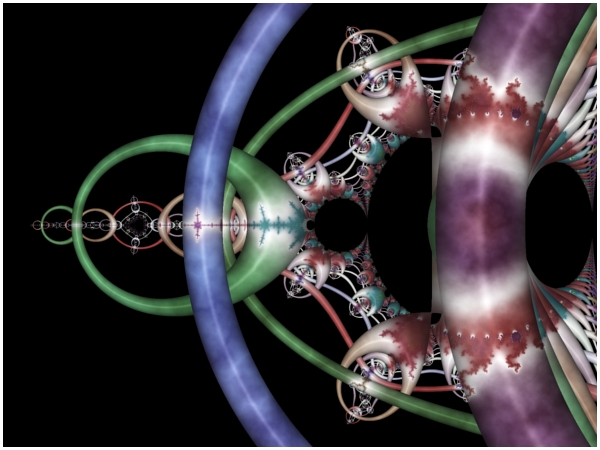
Execute the Display Fractal command on the Tools menu of the Fractal Window to generate the fractal image.
This is the base image to which we will add the noise-based texture.
Select the Controllers properties page:
General
Mandelbrot / Julia / Newton
Orbit Trap
Controllers
This page allows you to maintain the list of Color Controllers used to map the sample data to specific colors for display. We are going to add a 2nd controller to the list.
Click the New toolbar button (the 1st button on the left above the list) to add a new default controller to the list.
Select the Gradient Map - Value properties page (in the page hierarchy, not in the list):
General
Mandelbrot / Julia / Newton
Orbit Trap
Controllers
Gradient Map - Value
This page is a Program Editor for the Orbit Trap Controller.
Change the Based On property to Pattern Map - Perlin Noise.
On the program's Properties page, in the General Options section, set Gradient Offset to 1, Gradient Count to 1, and Factor to 1.
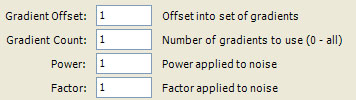
By setting Gradient Offset and Gradient Count to 1, we force the controller to use the 2nd controller in the list (i.e., index 1). We chose this one because we want to use one of the lighter gradients since we will be blending the controller's output with that produced by another controller (see below).
Next, select the Master Controller: Pass Thru properties page:
General
Mandelbrot / Julia / Newton
Orbit Trap
Controllers
Master Controller: Pass Thru
This page is a Program Editor for the Orbit Trap Master Controller.
The master controller has access to the list of controllers that have been added to the parent Controllers properties page and it determines which of these controllers, if any, will process each sample.
This architecture is very flexible. Each sample is passed to the (single) master controller who calls 0 or more color controllers to process the sample. If multiple controllers are used, the master controller combines the resulting set of colors as appropriate. Some master controllers use each color's alpha value (opacity) to combine the colors. Others algorithmically blend the set of colors using user specified options. A different strategy is to use information in each sample to determine which controller from the list should be used to process the sample resulting in strikingly different regions within the fractal image.
We want to blend the colors from the 2 controllers that we added to the list so the noise pattern defined by the 2nd controller is added to the base coloring defined by the 1st controller.
Change the Based On property to Blend.

Execute the Display Fractal command on the Tools menu of the Fractal Window to generate the fractal image.
Notice how the noise pattern is blended into the 1st controller's color scheme.